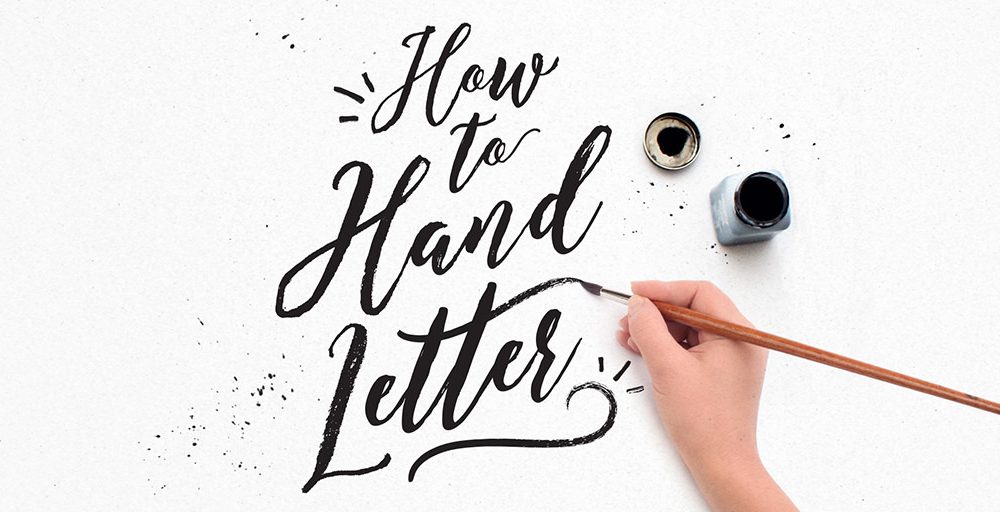
Hand lettering, the art of drawing letters by hand, has grown increasingly popular in recent years. It’s a beautiful and expressive form of typography that adds a personal touch to your stationery, home decor, and other creative projects. If you’re new to hand lettering, getting started can be intimidating, but with the right tips and tricks, you’ll be well on your way to creating stunning lettering art. In this blog post, we’ll cover some essential tips and tricks for hand lettering beginners.
- Choose the Right Tools:
Selecting the right tools is crucial for creating beautiful hand lettering. Here are some recommended tools to start with:
a. Pens and Markers: There are various pens and markers available for hand lettering, such as brush pens, fine-tip pens, and calligraphy pens. Experiment with different styles and brands to find the ones that suit your preferences.
b. Paper: Choose a smooth, high-quality paper that works well with your chosen writing instruments. Thicker paper can help prevent ink from bleeding through.
c. Ruler and Pencil: A ruler and pencil are essential for creating guidelines and sketching out your designs before inking.
- Learn Basic Strokes:
Before diving into creating full letters and words, practice basic strokes and shapes to build your skills and muscle memory. Some essential strokes to practice include:
a. Upstrokes: Light, thin lines created by moving your pen upward.
b. Downstrokes: Heavy, thick lines created by applying pressure while moving your pen downward.
c. Curves and Loops: Practice creating smooth, consistent curves and loops to form letters like ‘o,’ ‘c,’ and ‘l.’
- Study Letter Anatomy and Typography:
Familiarize yourself with letter anatomy, such as the baseline, x-height, ascenders, and descenders. Understanding the structure of letters will help you create more polished and consistent hand lettering.
Study different typography styles and fonts to inspire your lettering designs. Pay attention to the proportions, spacing, and overall aesthetics of various typefaces.
- Develop Your Own Style:
As you become more comfortable with hand lettering, start to develop your own unique style. Experiment with different letter shapes, flourishes, and compositions. Don’t be afraid to think outside the box and push the boundaries of traditional typography.
- Practice, Practice, Practice:
Like any art form, hand lettering requires practice and patience. Set aside time each day or week to practice your lettering skills, and don’t be discouraged by mistakes or imperfections. Embrace the learning process and watch your skills improve over time.
- Grids and Guidelines:
Use pencil-drawn guidelines or grid paper to help you maintain consistent letter size, spacing, and alignment. These guides can be erased or hidden once your lettering is complete.
- Experiment with Composition:
Once you’ve mastered individual letters, start experimenting with composition by arranging words and phrases in various layouts. Play with different alignments, letter spacing, and size variations to create dynamic and visually appealing designs.
Hand lettering is a rewarding and creative skill that can add a personal touch to your stationery, home decor, and other projects. With the right tools, practice, and patience, you’ll be well on your way to mastering the art of hand lettering. Keep these tips and tricks in mind as you begin your hand lettering journey, and don’t forget to have fun and enjoy the process.


